If you’ve got one of these little instant print cameras and you want to get your iPhone photos onto it, the process is surprisingly straightforward once you know the trick.
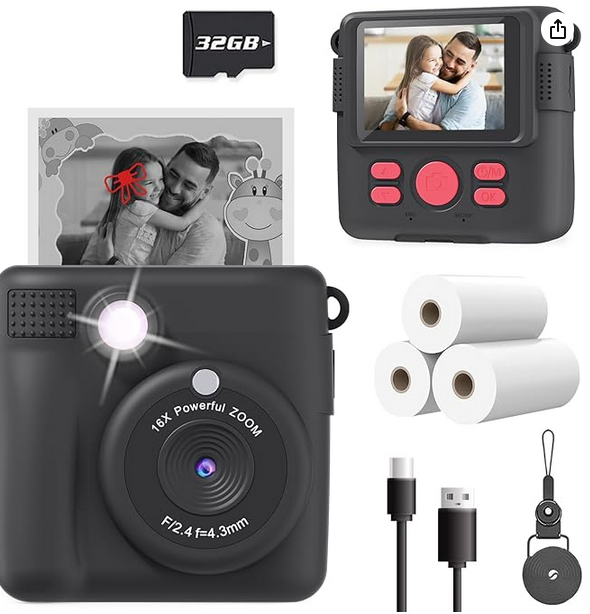
I played around with a couple of test photos and quickly realized the camera is picky about file format. Here’s what it wants:
- Filename: follow the
PICT####.jpgnaming convention. - Dimensions: fixed at 3840 × 2160 pixels.
- Color Depth: 24-bit.
- DPI: 96 × 96.
Once I figured that out, I built a simple, repeatable flow. I’m on Windows, but Mac folks should be able to find comparable apps to get the same result.
My Workflow
- Take the photo on iPhone.
- Transfer to PC with SimpleTransfer, converting from HEIC to JPG.
- Fix orientation (if needed): if it’s vertical, rotate to landscape—otherwise the camera prints it tiny.
- Insert the SD card: pull it from the camera and plug it into the computer. (alternatively just plug in the camera and point the output folder to the SD Card).
- Batch convert with FastStone:
- Rename files to match
PICT####.jpg. - Crop/resize to 3840 × 2160.
- Start numbering at the next available photo number (last photo number on the card + 1).
- Rename files to match
- Output directly to the SD card in the correct format and size.
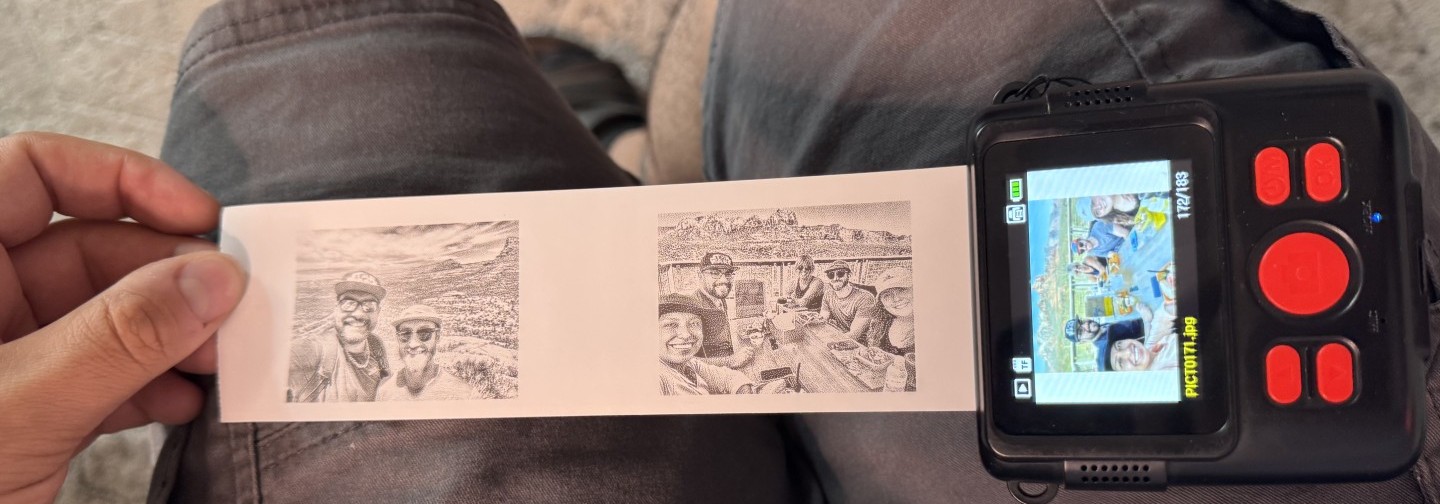
- Eject & print: safely remove the card, pop it back in the camera, open Playback, pick the photo, and hit Print.
That’s it. Do it once or twice and it’s second nature. If you’ve been banging your head trying to get iPhone photos to print on this little camera, this should save you the headache.
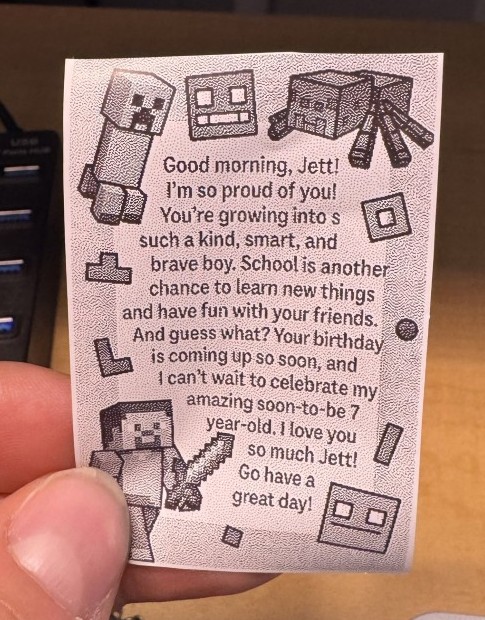
You can also use it to print cute little messages for your kids lunches if you don't have a printer available. I used Chatgpt to generate the background and embedded my message inside it.